How to Install SPD Cleats Correctly (Expert Guide)
Installing SPD cleats correctly means attaching them loosely to your cycling shoes, centering them on the sole, aligning the angle with your natural foot position, tightening securely, and then fine-tuning while clipped in. Proper SPD cleat alignment improves pedaling efficiency, reduces foot pressure, and helps prevent knee pain.
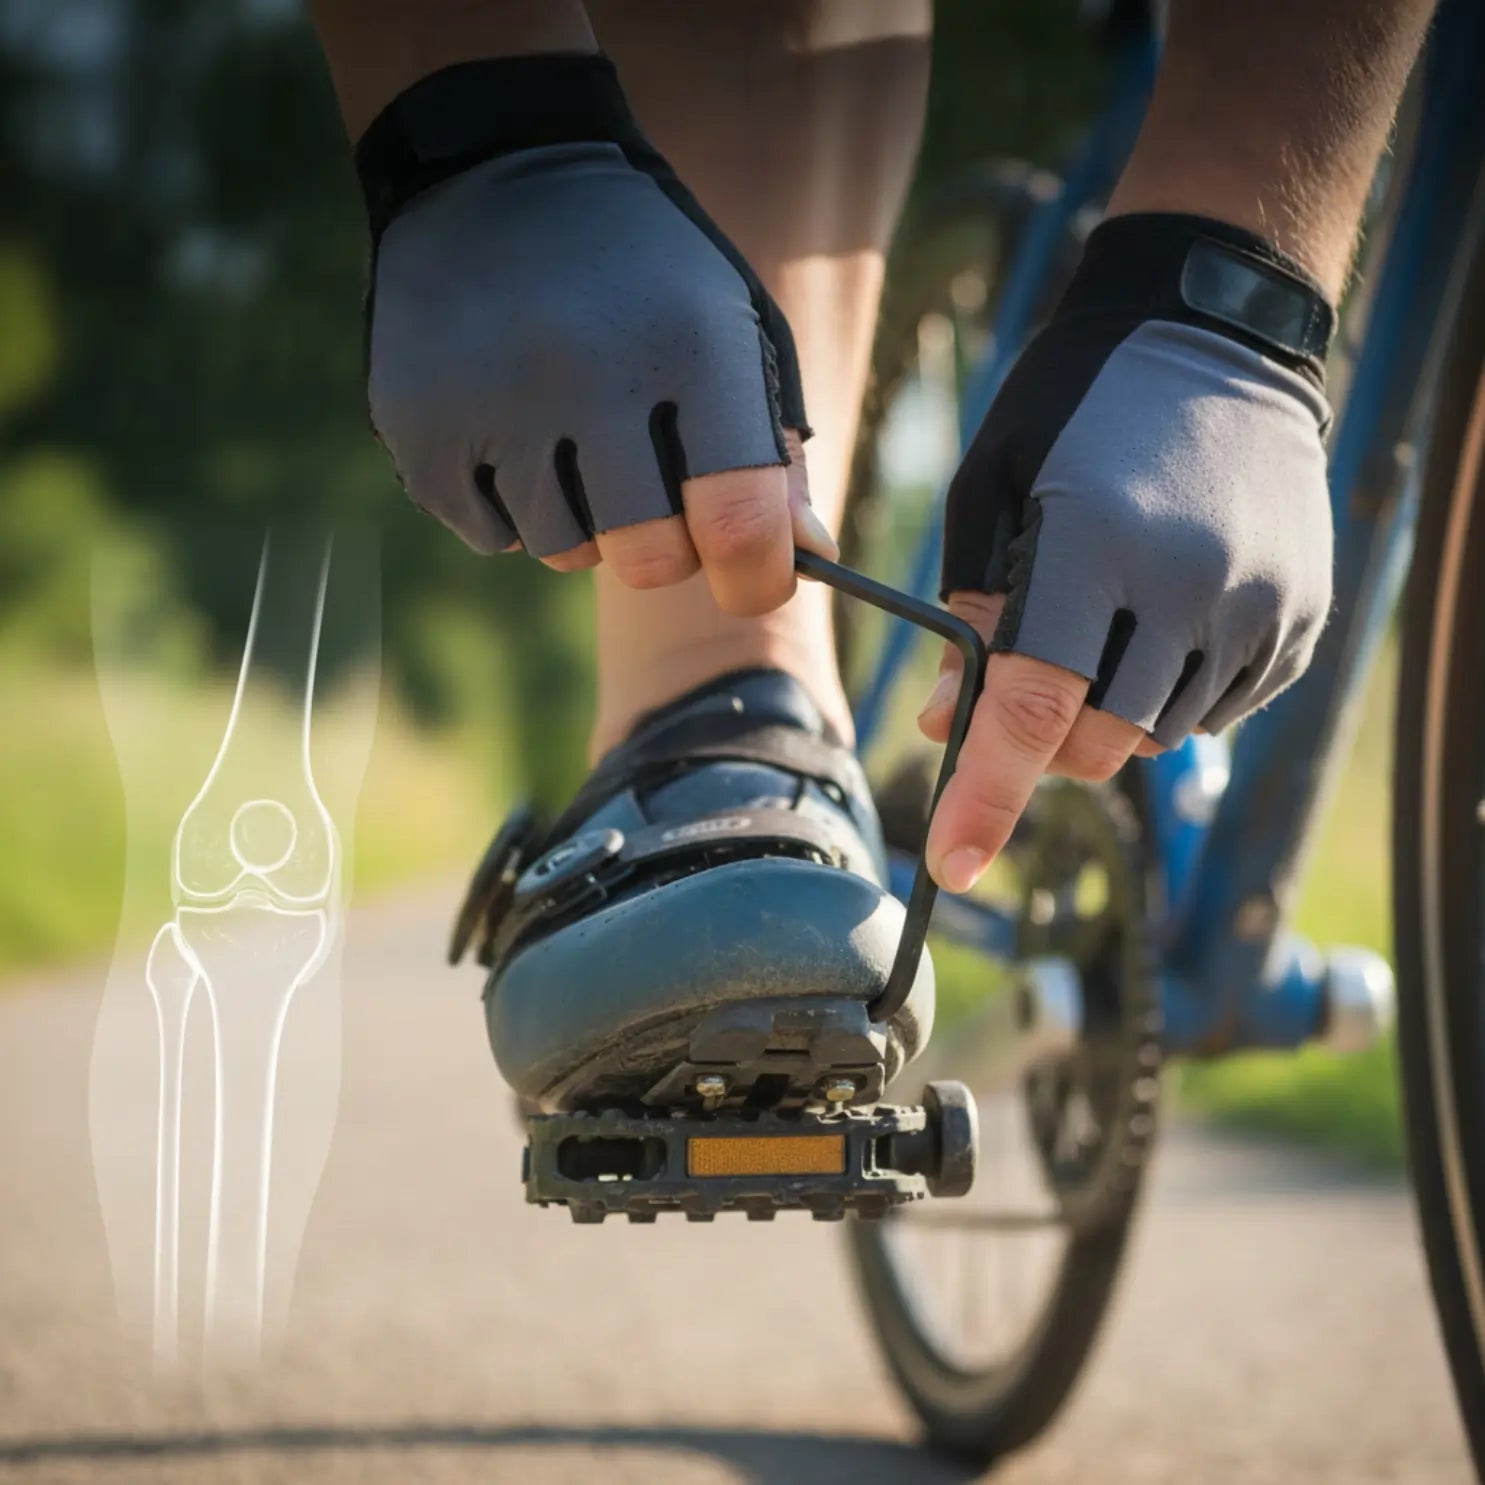
Why SPD Cleat Alignment Matters
Incorrect SPD cleat positioning is one of the most common causes of
- Knee pain during or after cycling.
- Foot numbness and hot spots.
- Reduced power transfer.
- Discomfort during long indoor or outdoor rides.
Correct alignment allows your foot to move naturally through the pedal stroke while maintaining stability.
Tools Required to Install SPD Cleats
- SPD cleats.
- 4mm Allen key.
- SPD-compatible cycling shoes.
Step-by-Step SPD Cleat Installation Process
1. Attach the Cleats Loosely
Place the SPD cleat over the two bolt holes on the bottom of the shoe. Insert the bolts and tighten them lightly so the cleat can still move.
2. Center the Cleats on the Shoe
Position the cleat at the center of the shoe sole and keep it in the middle of its float range. This neutral position works for most riders and allows safe movement.
3. Align the Cleat Angle to Your Natural Foot Position
Stand naturally and observe how your feet point.
- Straight feet → cleats stays straight.
- Feet point outward → rotate cleat slightly inward.
- Feet point inward → rotate cleat slightly outward.
The goal is to avoid forcing your foot into an unnatural angle.
4. Tighten the Cleats Securely
Once alignment feels correct, fully tighten the bolts. The cleat should not move when pressed firmly.
5. Clip In and Test the Setup
Clip into your pedals and pedal lightly for a few minutes.
- Excess foot pressure → move the cleat slightly backward.
- Knee discomfort → adjust the cleat angle in small increments.
6. Fine-Tune Before Longer Rides
Carry a 4mm Allen key during early rides and make minor adjustments until pedaling feels smooth, stable, and pain-free.
Common SPD Cleat Adjustment Guidelines
- Small adjustments (1-2 mm or slight rotation) are usually enough.
- Comfort is more important than aggressive positioning.
- Recheck cleats if pain develops or shoes loosen.
Expert Tip: Pre-Installed SPD Cleats
Some Tommaso Cycling shoes are available with SPD cleats pre-installed, allowing riders to clip in and ride without manual setup.
Note: Pre-installed SPD cleats are available on Tommaso Cycling for men and women.
FAQs
What is the correct position for SPD cleats?
The correct SPD cleat position is centered on the shoe sole, aligned with the rider’s natural foot angle, and set within the cleat’s float range for free movement.
Can incorrect SPD cleat alignment cause knee pain?
Yes. Incorrect SPD cleat alignment can place rotational stress on the knee, leading to pain, discomfort, and inefficient pedaling.
Should SPD cleats be moved forward or backward?
Most riders start with a centered position. Moving the cleat slightly backward can reduce foot pressure and improve comfort, especially for longer rides.
How long does it take to install SPD cleats?
Installing SPD cleats typically takes 5 to 10 minutes, including initial testing and small adjustments.

Share:
Top 8 Best Shoes for Indoor Cycling (Men and Women)
SPD vs SPD-SL vs Delta: Which Cleat System Is Best for You